
Mastering Git: The Ultimate Cheat Sheet for Developers

Mastering Git: The Ultimate Cheat Sheet for Developers
Introduction:
Efficient version control is crucial in software development, and Git is the go-to tool for tracking changes and collaborating. This Git cheat sheet provides essential commands and tips to navigate Git with ease. From initializing repositories to advanced branching and merging, this guide covers everything you need to master Git. Let’s simplify your version control process together.
What is Git?
Git is a distributed version control system designed to track changes in source code during software development. Git enables efficient management of project history, supports branching and merging, and provides tools for collaboration, making it an essential tool for modern software development.
What is Version Control System?
A version control system (VCS) is a tool that helps manage changes to files and code over time. It tracks modifications, allowing multiple users to collaborate on a project without overwriting each other’s work. This is essential for coordinating teamwork and ensuring the integrity of the development process.
Installing Git on Windows: A Step-by-Step Guide
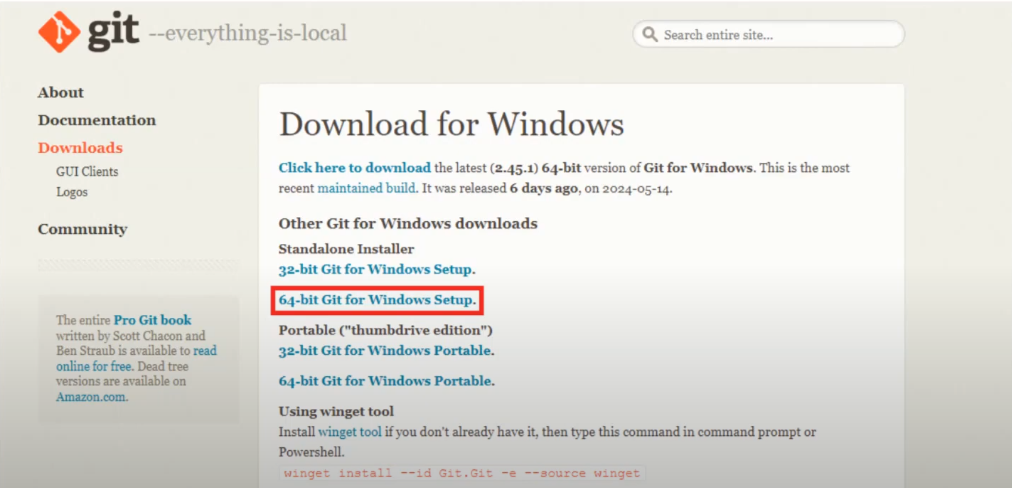
Step 1: Go to the official website https://git-scm.com/ Or Search ”GIT” on Google.
Step 2: Click on “64-bit Git for Windows Setup” and wait for the download to finish.
Step 3: Go to your download location and double-click the file to launch the installer.
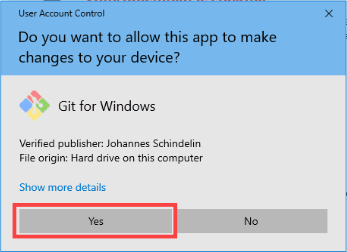
Step 4: Allow the app to modify your device by selecting Yes in the User Account Control window that appears.
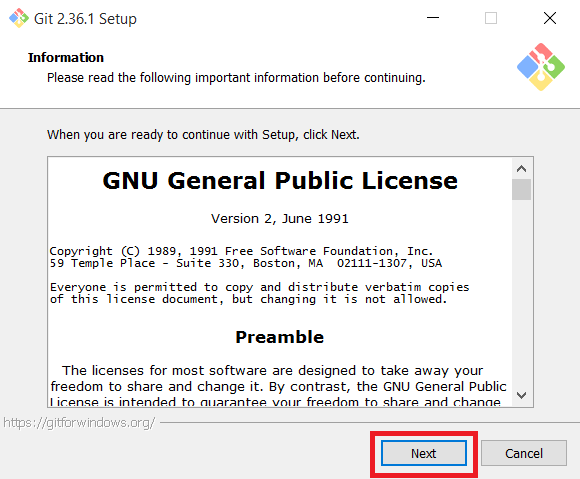
Step 5: Check the GNU General Public License and click Next.
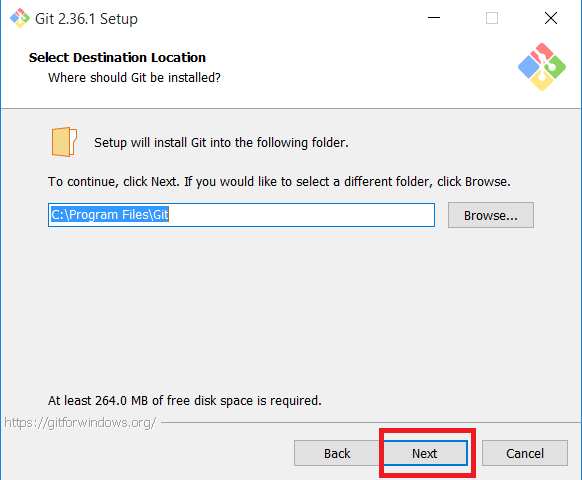
Step 6: Choose the installation location. If you don’t need to change the default path, simply leave it as it is and click “Next.”
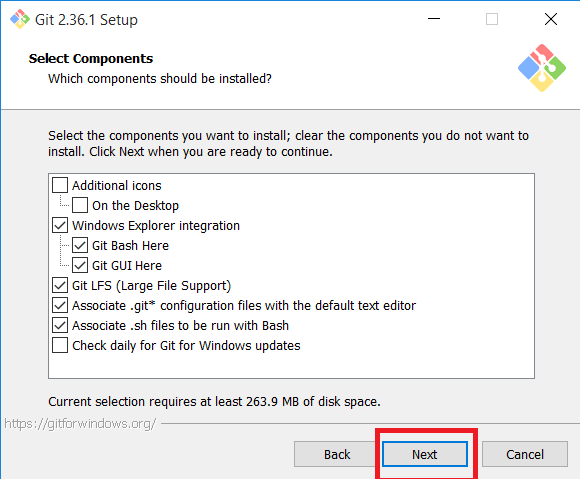
Step 7: When the component selection screen appears, keep the default settings and click “Next.”
Step 8: The installer will prompt you to create a Start Menu folder. Click “Next” to proceed.

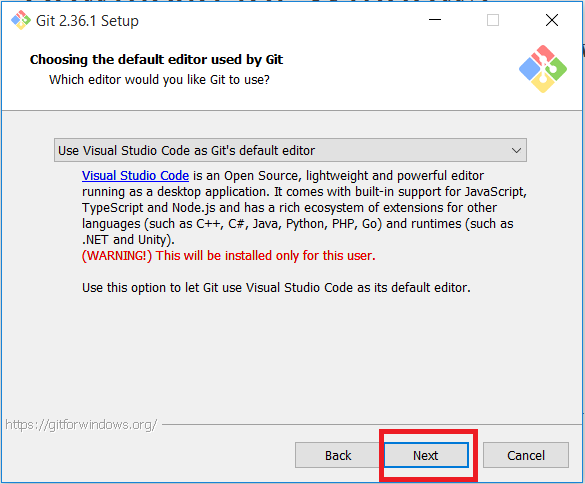
Step 9: Select your preferred text editor for Git and click “Next” to continue.
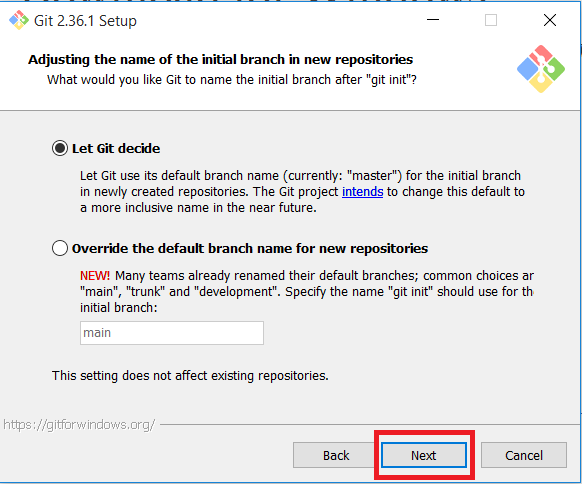
Step 10: You’ll have the option to rename the default branch, which is set to “master.” If you don’t need to change it, keep the default and click “Next.”
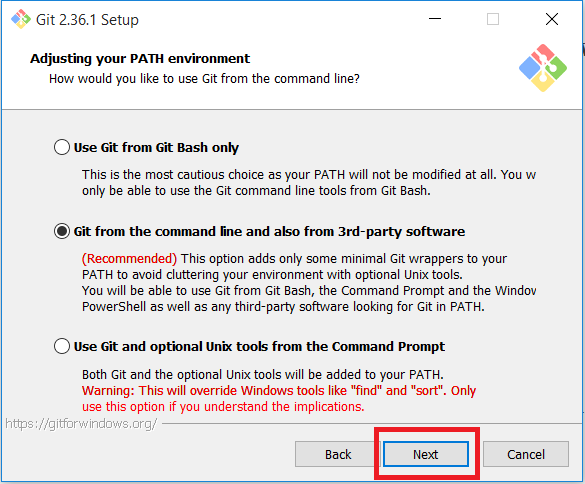
Step 11: You can configure the PATH environment during this step. This determines which folders are included when running commands from the command line. To proceed, select the middle option and click “Next.”
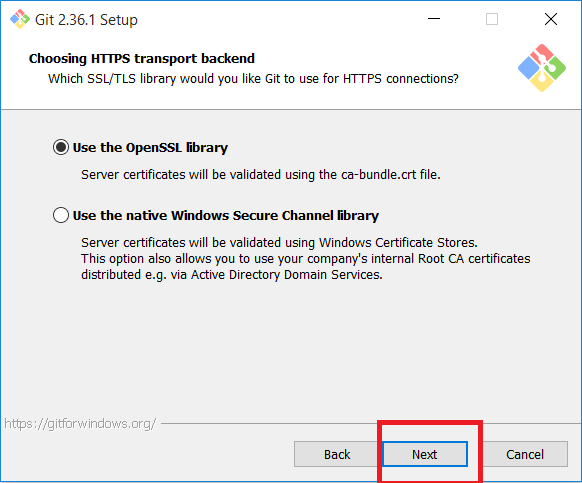
Step 12: This step involves configuring server certificates. The default option is suitable for most users. Simply click “Next” to continue.
Step 13: This step configures data handling options, and changing these settings might cause issues. It’s best to leave the default selection as it is.

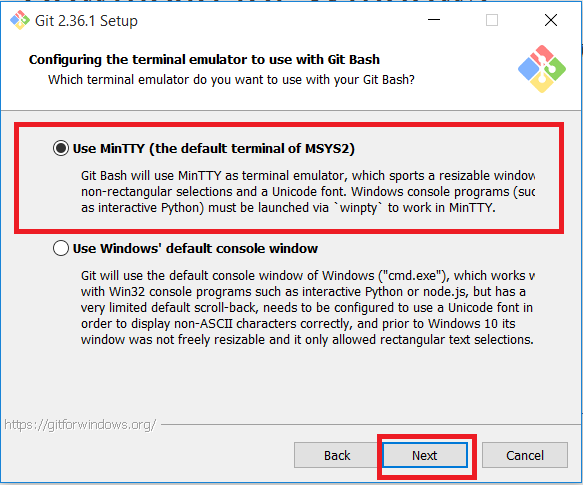
Step 14: Choose your preferred terminal emulator. For its robust features, the default MinTTY is recommended. Click “Next” to proceed.
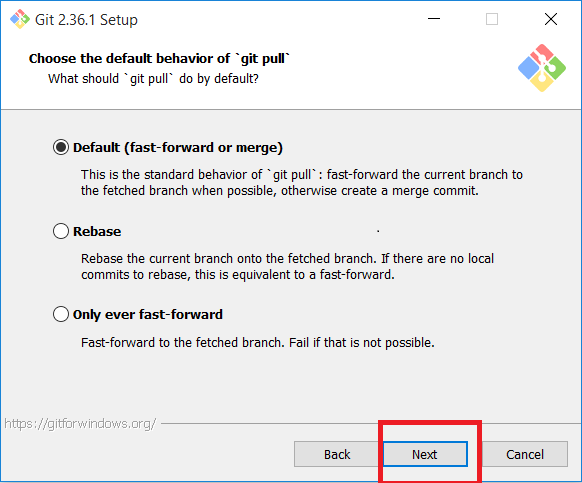
Step 15: The installer will prompt you to configure the behavior of the git pull command. Keep the default option selected and click “Next.”
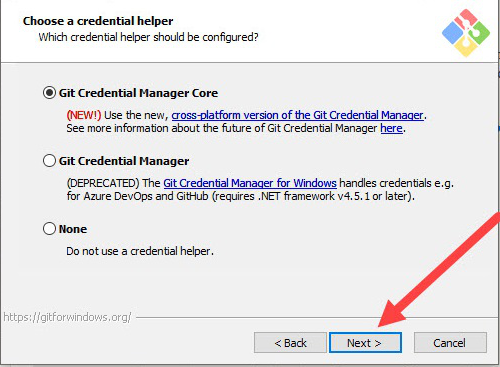
Step 16: Next, choose the credential helper you want Git to use for managing credentials. The default option is typically suitable, so leave it selected and click “Next.”
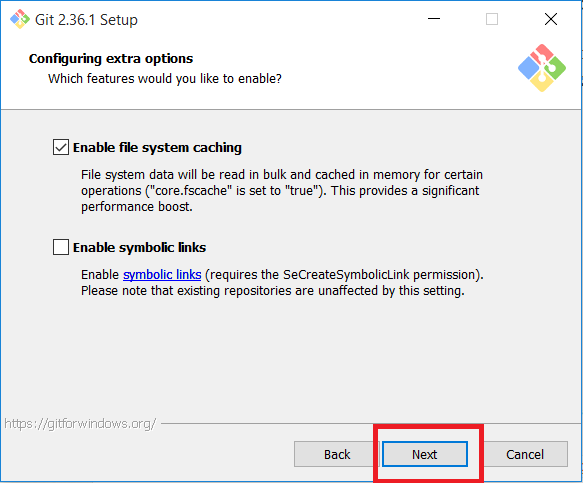
Step 17: While the default options are recommended, this step lets you choose which additional features to enable.
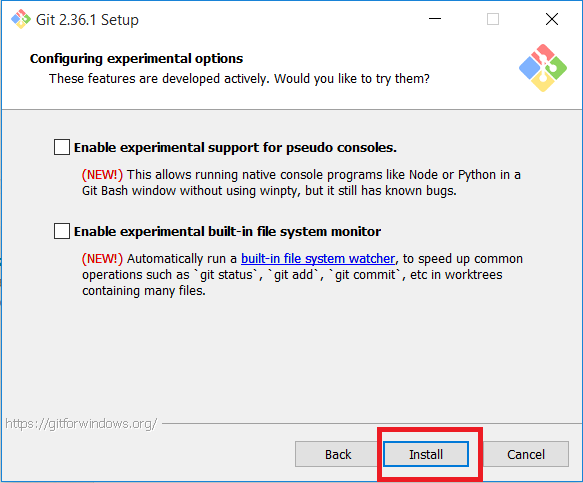
Step 18: Git will present options to install experimental features. Leave these unchecked and click “Install.”
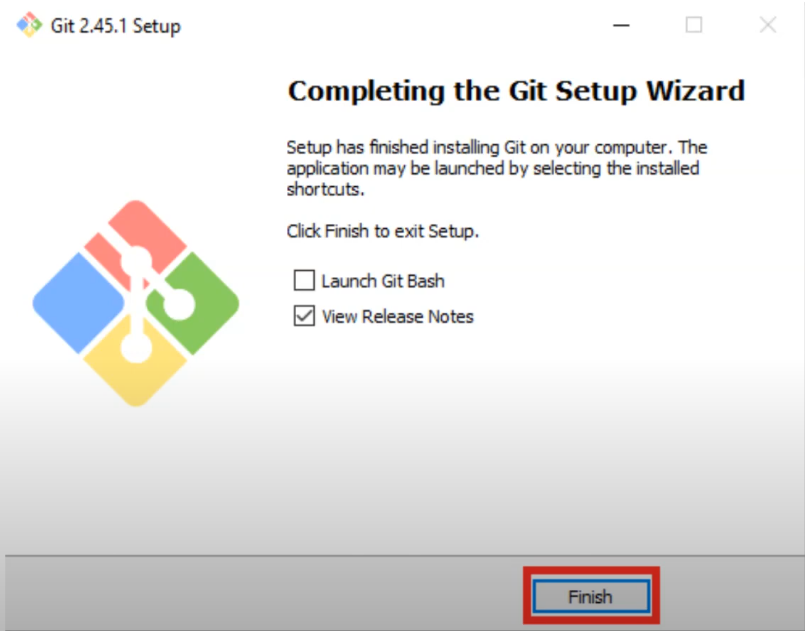
Step 19: When the installation is complete, click the “Finish” button.
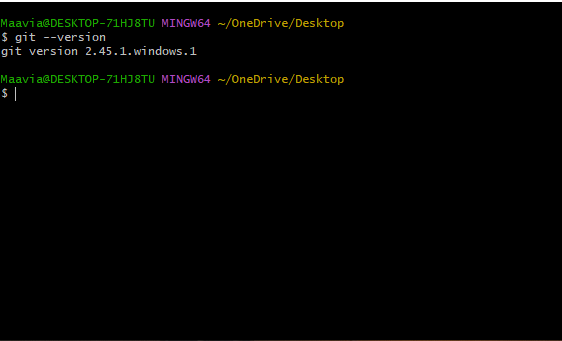
Step 20: After the installation is complete, launch Git Bash.
How to Configure Git: A Quick Guide
Once Git is installed, the first step in configuration is to set your identity. This information will be used in your commits and helps track who made which changes. Open your terminal or Git Bash and enter the following commands:
Step 1: Set your user name globally
git config –global user.name “Your Name”
Step 2: Set your email globally
git config –global user.email your.email@example.com
Step 3: Set to display colored output in the terminal
git config –global color.ui auto –
Step 4: Display the main help documentation, showing a list of commonly used Git commands
git help
Git Cheat Sheet: Basic To Advanced
Initializing a Git Repository:
Initializing a Git repository is the first step in using Git for version control in your project. This process sets up a new repository or prepares an existing project to be tracked by Git.
“git init” initializes a new Git repository in the current directory.
“git clone” creates a copy of an existing repository into a new directory.
Primary Git command:
git add stages changes in the working directory for the next commit.
git add –all stages all change in the working directory, including new, modified, and deleted files, for the next commit.
git add . stages all changes in the current directory and its subdirectories for the next commit.
git status displays the state of the working directory and the staging area, showing which changes are staged, unstaged, and untracked.
git status –ignored shows the status of ignored files along with tracked and untracked files.
git diff shows the differences between the working directory and the staging area or between commits.
git diff <commit1> <commit2> shows the changes between two specific commits.
git diff –staged or git diff –cached shows the changes between the staging area and the last commit.
git diff HEAD shows the differences between the working directory and the latest commit (HEAD).
git commit records the staged changes to the repository with a commit message.
git commit -m “<message>” or git commit –message “<message>” records staged changes with a specified commit message.
git commit -a or git commit –all stages all modified and deleted files before committing, skipping the git add step.
git reset <commit> resets the branch to the specified commit, updating the staging area and working directory.
git reset –soft <commit> moves the branch to the specified commit but keeps changes in the staging area.
git reset –hard <commit> resets the branch to the specified commit, discarding all changes in the staging area and working directory.
git rm <file> removes the specified file from the working directory and stages the removal for the next commit.
git mv <old-file> <new-file> renames or moves a file and stages the change for the next commit.
Git Commit (Enhanced Commands):
Discover enhanced Git commit commands that streamline your workflow and improve version control with new features and refined functionalities.
git commit -m “feat: message” commits staged changes with a message, following the conventional commit style.
git commit -m “fix: message” commits staged changes with a message, indicating a fix or bug correction.
git commit -m “chore: message” commits staged changes with a message, typically indicating routine tasks or maintenance.
git commit -m “refactor: message” commits staged changes with a message, indicating code refactoring without altering functionality.
git commit -m “docs: message” commits staged changes with a message, indicating updates or changes to documentation.
git commit -m “style: message” commits changes related to code style or formatting.
git commit -m “test: message” commits changes related to adding or modifying tests.
git commit -m “perf: message” commits changes that improve performance.
git commit -m “ci: message” commits changes related to continuous integration or build processes.
git commit -m “build: message” commits changes related to build system or dependencies.
git commit -m “revert: message” commits a change that reverts a previous commit, with a message explaining the reversal.
Branching and Merging:
Branching allows independent development, and merging keeps the main codebase unified.
git branch lists all branches in the repository and highlights the current branch.
git branch <branch-name> creates a new branch with the specified name.
git branch -d <branch-name> deletes the specified branch if it has been fully merged.
git branch -a lists all local and remote branches in the repository.
git branch -r lists all remote branches.
git checkout <branch-name> switches to the specified branch.
git checkout -b <new-branch-name> creates a new branch with the specified name and switches to it.
git checkout — <file> discards changes in the working directory for the specified file, restoring it to the last committed state.
git merge <branch> merges the specified branch into the current branch.
git log displays the commit history for the current branch.
git log <branch> shows the commit history for the specified branch.
git log –follow <file> shows the commit history of a file, including renames or moves.
git log –all displays the commit history for all branches in the repository.
git stash saves your uncommitted changes temporarily and clears the working directory.\
git stash list shows a list of all stashed changes.
git stash pop applies the most recent stashed changes and removes them from the stash list.
git stash drop removes a specific stash from the list without applying it.
git tag lists all tags in the repository.
git tag <tag-name> creates a new tag with the specified name at the current commit.
git tag <tag-name> <commit> creates a new tag with the specified name at the given commit.
git tag -a <tag-name> -m “<message>” creates an annotated tag with the specified name and message.
Remote Repository:
A remote repository is a version-controlled codebase hosted on a server, enabling collaboration and access from multiple locations.
git fetch retrieves updates from a remote repository without merging them into the current branch.
git fetch <remote> retrieves updates from the specified remote repository without merging them into the current branch.
git fetch –prune removes references to branches that no longer exist on the remote repository while fetching updates.
git pull fetches updates from a remote repository and merges them into the current branch.
git pull <remote> fetches updates from the specified remote repository and merges them into the current branch.
git pull –rebase fetches updates and applies your local commits on top of the fetched changes, instead of merging.
git push uploads your local commits to a remote repository.
git push <remote> uploads your local commits to the specified remote repository.
git push <remote> <branch> uploads your local commits from the specified branch to the given remote repository.
git push –all uploads all local branches to the remote repository.
git remote lists the remote repositories associated with your local repository.
git remote add <name> <url> adds a new remote repository with the specified name and URL.
Git Comparison:
git show displays detailed information about a specific commit, including changes and metadata.
Git History Management:
git revert <commit> creates a new commit that undoes the changes introduced by the specified commit.
git revert –no-commit <commit> undoes the specified commit’s changes without creating a new commit.
git rebase <branch> applies commits from the current branch on top of the specified branch.
Conclusion:
Mastering Git is crucial for effective version control and collaboration. This cheat sheet covers essential commands, from basic setup to advanced features, helping you streamline your workflow and enhance teamwork. With these tools, you’re ready to handle any version control challenge.
For more insights and informative blogs, check out our YouTube channel and visit our blog website