
How to Add a Website in Microsoft IIS

What is Microsoft IIS?
Microsoft IIS or Internet Information Services, is a Microsoft-developed application tailored for Windows Server operating systems. It facilitates the hosting of websites, web applications, and various internet-oriented services on servers. Through Microsoft IIS, users can effectively manage and deploy diverse online content and services, contributing to its widespread adoption in the realm of web hosting and server management.
Step 1 — Create a folder for Website files:
Step 1.1:
Navigate to the start menu and type in cmd and click on ‘Run as administrator’. And inside the terminal run:
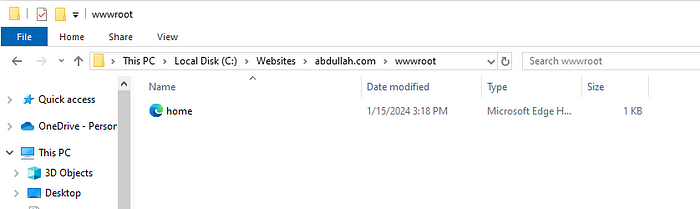
mkdir C:\Websites\abdullah.com\wwwrootThis will create a website root directory ‘wwwroot’ at ‘C:\Websites\abdullah.com’ location.
Note: you can change the ‘abdullah.com’ to your site name.
Step 1.2:
Once you have created a root directory for your website, now you can place your website source file(s) there.
Step 2 — Add Dedicated Application Pools:
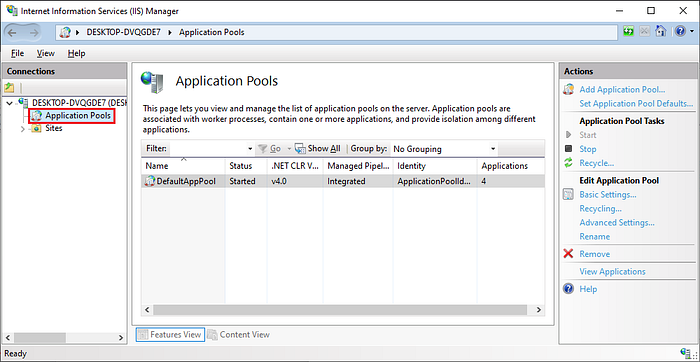
Open IIS Manager from the start menu and on the left, under Connections, right-click on Application Pools and select Add Application Pool
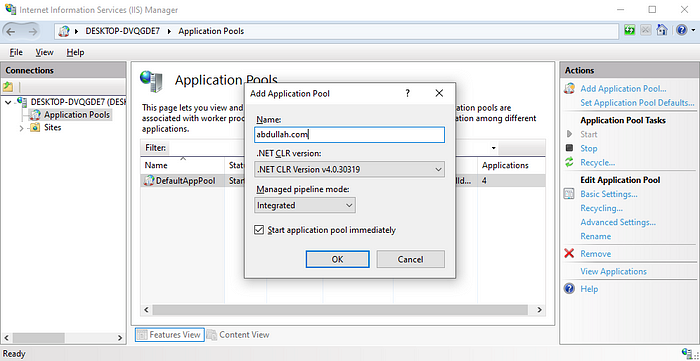
After selecting Add Application Pool, add your domain name and click OK
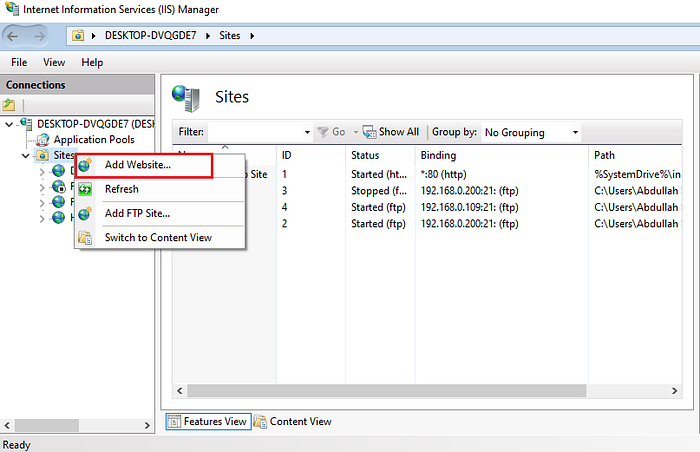
Step 3— Add your Website to the IIS Management:
In the IIS Manager, on the left, navigate to Sites, right-click on it, and select Add Website…
Now add your site name, the physical path where your website file(s) is located, and your hostname

Step 4— Add Temporary DNS Record:
Navigate to the start menu and type in cmd and click on ‘Run as administrator’. Inside the terminal run:
notepad C:/Windows/System32/drivers/etc/hostsAnd in the bottom of the file, type:
[your IP Address] [Host name]for me, it’s:
192.168.0.12 www.abdullah.comNow you should be able to access your website on your local browser!
Error Handling:
Step 1 — Enabling directory browsing:
If for instance, you get a HTTP Error 403.14 — Forbidden error, then perform the following steps:
1. Open IIS Manager.
2. In the Features view, double-click Directory Browsing.

3. On the Directory Browsing page, in the Actions panel, click Enable.
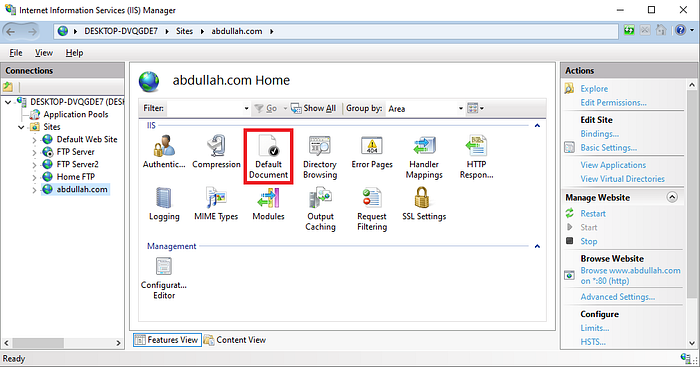
Step 2 —Specifying default file(s):
Navigate to Default Document:
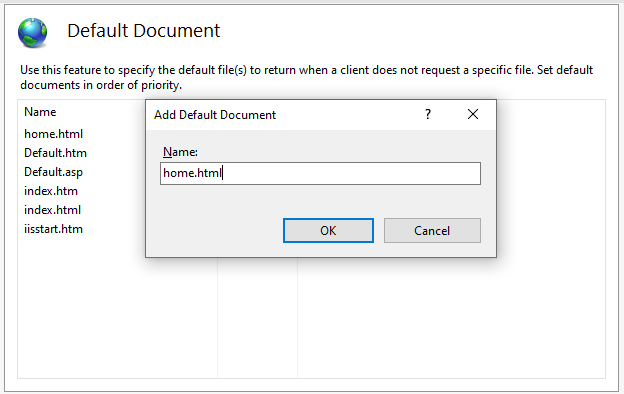
On the Default Document page, in the Actions panel, click Add, then type in the Website’s file name (with its extension)


Comments (2)
Xhamster Videos
Hello my loved one! I want to say that this post is amazing, great written and include almost all significant infos. I would like to look extra posts like this.
Xhamster Videos
I do not even know how I ended up here, but I thought this post was great. I do not know who you are but certainly you’re going to a famous blogger if you are not already 😉 Cheers!